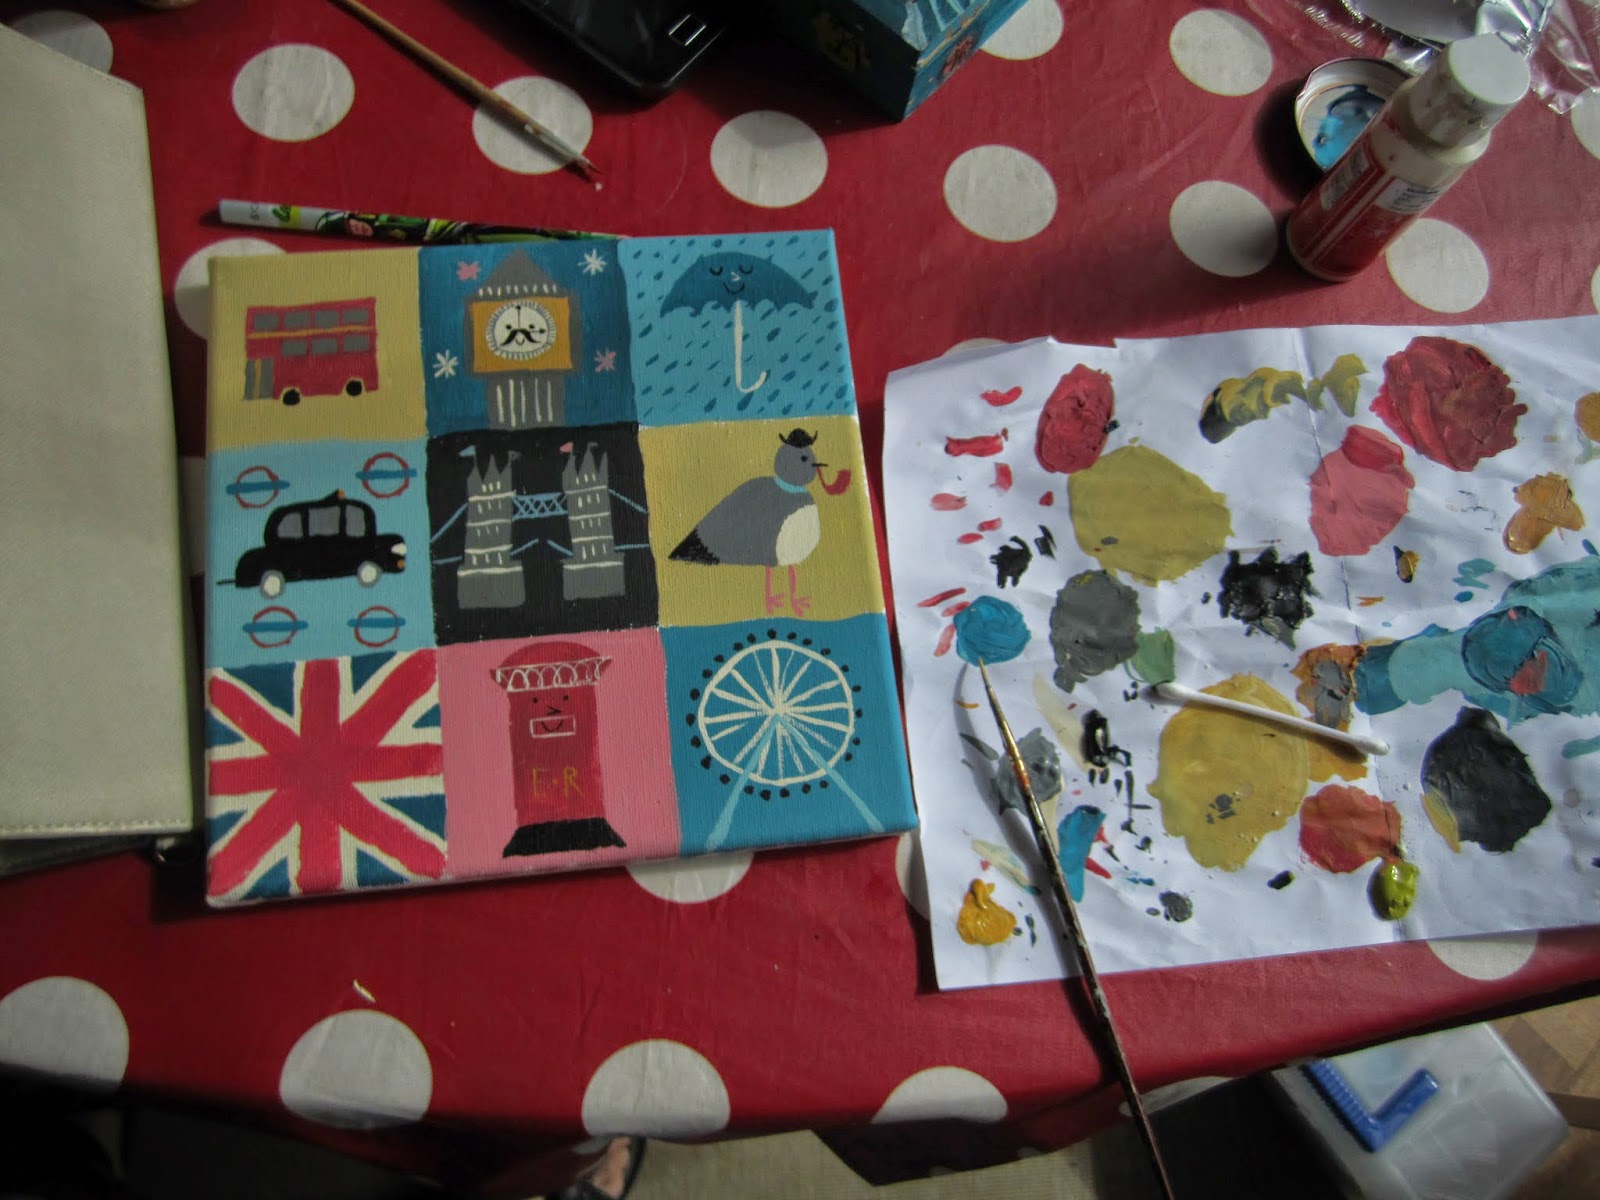
I made these pictures based on (basically copies of) Rob Hudgson's wonderful designs. My elder son had tonsillitis, so we had a lot of time to do arts and crafts after the antibiotics kicked in!
I had planned to paint these since before Easter and I was so glad to finally get round to it. I used 20 cm x 20 cm canvases and acrylic paints.
Monday, May 19, 2014
Little boxes of London painting
Our guest bedroom had bare walls, and I wanted to paint something that is related to London, as our house guests spend lots of time sight seeing there.
I discovered Rob Hudgson's work on pinterest which I thought was really cool and relatively easy for me to paint. Later I discovered he did some pictures based on cities, London being one of them. So I got to work.
I enjoyed painting this, and my boys liked to watch these familiar things appear on the canvas with smiling faces! More to come...
Thursday, April 24, 2014
Baking Kalács /Hungarian Brioche
1. Mix a heaped teaspoon of dry active yeast with a teaspoon of sugar and a bit of lukewarm water/milk. Allow it to come "alive", which means the liquid starts to get bubbly. Sort of like the picture above.
2. Melt 60g of butter a couple of teaspoons of sugar in a mug of milk and a teaspoon of salt
4. mix with a spoon. It should be thick but still mixable with a spoon (you can add more flour or milk if needed)
5. Kneed with a mixer for several minutes until the dough seperates from the bowl and looks sort of like the picture above.
6. Allow the dough to rise in a warm place, eg. near a radiator. Or heat the oven to 50 degrees celsius and turn it off before putting the bowl in. the dough should rise to 2x its size.
7. Braid...I planned to braid the dough, but it became clear early on that it wasn't going to happen... Instead I used an oily spoon to spoon the dough into the mold lined with baking paper. This makes the texture lighter.
8. Finally brush the top with egg yolk.
9. Bake at 200 degrees celsius for at least 30 minutes or until nice and brown on top.
I can't wait for us to get back from school so the kids can try it for their snack!
Friday, March 28, 2014
Clothes Peg Shapes: Fine Motor Skills Game diy
I read that clothes pegs are great for practising fine motor skills and dexterity. My son really loves helping me with handing out the washing.
I thought I would incorporate the his interest in clothes peg with practicing colours and shapes.
Materials used:
Cheerios box
felt tip pen
crayons
clothes pegs
I drew some shapes on the box and retraced them with a pen. And coloured them in with crayons. I chose the colours closest to my clothes pegs. So it is easy to customize this activity to the pegs you have at home.
I cut them out:
I thought I would incorporate the his interest in clothes peg with practicing colours and shapes.
Materials used:
Cheerios box
felt tip pen
crayons
clothes pegs
I drew some shapes on the box and retraced them with a pen. And coloured them in with crayons. I chose the colours closest to my clothes pegs. So it is easy to customize this activity to the pegs you have at home.I cut them out:
Here is S playing with the game. I hope this will keep him occupied while we are doing homework with his brother :)
Baking cookies with kids
Two weeks ago we had some friends over and I decided to have the kids have some fun with baking. I made the dough the day before and bought some candy to decorate with.
The kids used the rolling pin to roll the dough, and cut out some simple shapes
We used icing and candy for the decorations. I bought some of the candy at a candy stand so there would be a variety to choose from. Most of them turned out to be way too big, but the older ones and I cut them into smaller bits with a knife. We also used strawberry laces which we cut with scissors. A good activity for the little one :)
3 eggs ---whisk lightly
3 tablespoons of oil
4 tablespoons of liquid honey
--- Whisk all above
add
25 dkg sugar
---Whisk some more
add
50 dkg flour
1/2 teaspoon baking soda
1/2 salt
--- knead by hand
The kids used the rolling pin to roll the dough, and cut out some simple shapes
We used icing and candy for the decorations. I bought some of the candy at a candy stand so there would be a variety to choose from. Most of them turned out to be way too big, but the older ones and I cut them into smaller bits with a knife. We also used strawberry laces which we cut with scissors. A good activity for the little one :)
The end result!
Recipe for the :
3 eggs ---whisk lightly
3 tablespoons of oil
4 tablespoons of liquid honey
vanilla extract
lemon peel--- Whisk all above
add
25 dkg sugar
---Whisk some more
add
50 dkg flour
1/2 teaspoon baking soda
1/2 salt
--- knead by hand
Spring wreath from repurposed materials
I must confess, I just took down the heart shaped wreath I made for Christmas (http://thefeverishfeltist.blogspot.co.uk/2013/12/felt-christmas-decorations.html) yesterday. Arguably, given its shape there was no reason to take it down before Valentine's Day, but it was really time for a change... Not a big one though...
I removed the Christmas embellishments and added more spring-appropriate decorations. I used a baby girl dress I bought at a charity shop and a bit of pink felt.
The dress had a bow on it, which I kept. The thread came undone as I cut it off so I had to stitch it to keep it intact, but It was still much nicer than anything I could have made by myself:
I sewed the bird from felt and added buttons for eyes
I removed the hem and used it to hang the bird.
I also removed the belt bit from the front of the dress and used it as the ribbon behind the bow.
| I still need to remove the stitches that held the beak in place... |
Happy Spring Everyone!
Tuesday, March 25, 2014
International Day project: Hungary
My son's school had International Day about 2 weeks ago. He naturally wanted to represent Hungary. We do not own any traditional clothes, but I found a Primark fedora type straw hat which I embellished with Hungarian tricolor ribbon (sent by mail by my grandma) and waistcoat at a charity shop. My son wore some black trousers and his school shirt underneath. We also got some cocade (kokárda) from our friends. I pinned one on the hat and one on the waistcoat.
He was very excited about making the poster and it was a great way for him to practice his English writing and show his own culture to his teachers and friends.
Interestingly there was a bit of confusion about the Biro pens at school. A girl claimed that they came from her country. I googled it, and found that Laszló Biró presented his first ball-point pen invention in Hungary at the Budapest International Fair in 1931, patented it in 1938. Later, he moved out of the country due to anti-Jewish laws first to France later to Argentina where he modified it and set up a company that manufactured it. He also invented a lot of other things, many of them in Argentina.
(more here: http://en.wikipedia.org/wiki/L%C3%A1szl%C3%B3_B%C3%ADr%C3%B3)
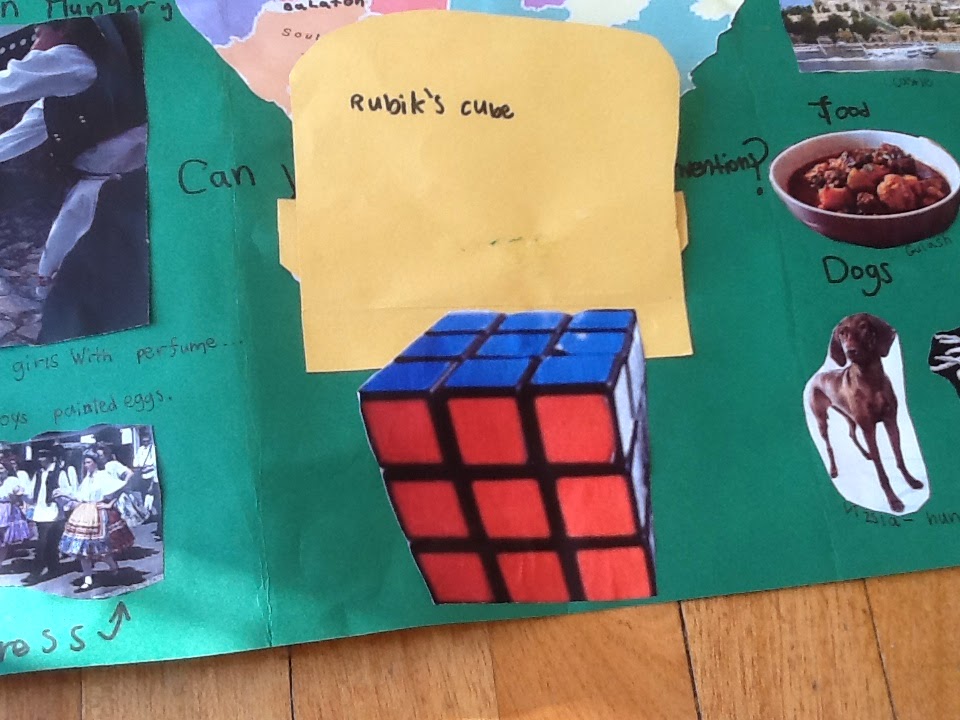
In preparation for International Day, A also made a poster. We brainstormed ideas about what he wants on the poster and than found pictures online to print.
A came up with the idea of having a flip-the-flap bit with some Hungarian inventions
Interestingly there was a bit of confusion about the Biro pens at school. A girl claimed that they came from her country. I googled it, and found that Laszló Biró presented his first ball-point pen invention in Hungary at the Budapest International Fair in 1931, patented it in 1938. Later, he moved out of the country due to anti-Jewish laws first to France later to Argentina where he modified it and set up a company that manufactured it. He also invented a lot of other things, many of them in Argentina.
(more here: http://en.wikipedia.org/wiki/L%C3%A1szl%C3%B3_B%C3%ADr%C3%B3)
Subscribe to:
Posts (Atom)