Wednesday, July 9, 2014

Ikea Hack: Ikea Moppe drawers


I bought this five drawer Ikea Moppe unit at a charity shop. As you can see below, it probably belonged to a fellow craft-enthusiast... let's just say, I hope my revamp will stand the test of time better than this...


I had purchased the drawers about six months ago but could not decide on how to revamp it or what to use it for. Then my elder son showed me a plan he had jotted down about the topics he wanted to blog about (scouting, archeology, drawing ect) He drew boxes around each of the topics, in a way compartmentalizing them. It occurred to me that he could make good use of the moppe drawers- especially as his desk is usually a bit cluttered. 
I did not want it to be too cute, as he is nearly 9 years old.After some deliberation, I decided on Victorian specimen drawers, remembering how people in the Victorian era enjoyed collecting bugs, fossils, curiosities and discovering the world around them.


I used by Black'n' Decker mouse to sand the wood and  some blue acrylic paint.

Because the Moppe drawers are a bit tight to begin with, I sanded all sides of some of the individual boxes so they would side better. I only painted the front of the drawers for the same reason.
I traced the front of the box onto


graph paper and drew the shape of the faux identification label.
I cut out the identification label while keeping the drawer shape I traced intact.
I used this as a stencil on the wooden drawers. I think using a customized stencil made positioning the label in just the right place easier.

Then I cut out the rectangle from  the middle of the identification label and traced around it at the center of the label.
This would be the white (faux paper) bit of the label.
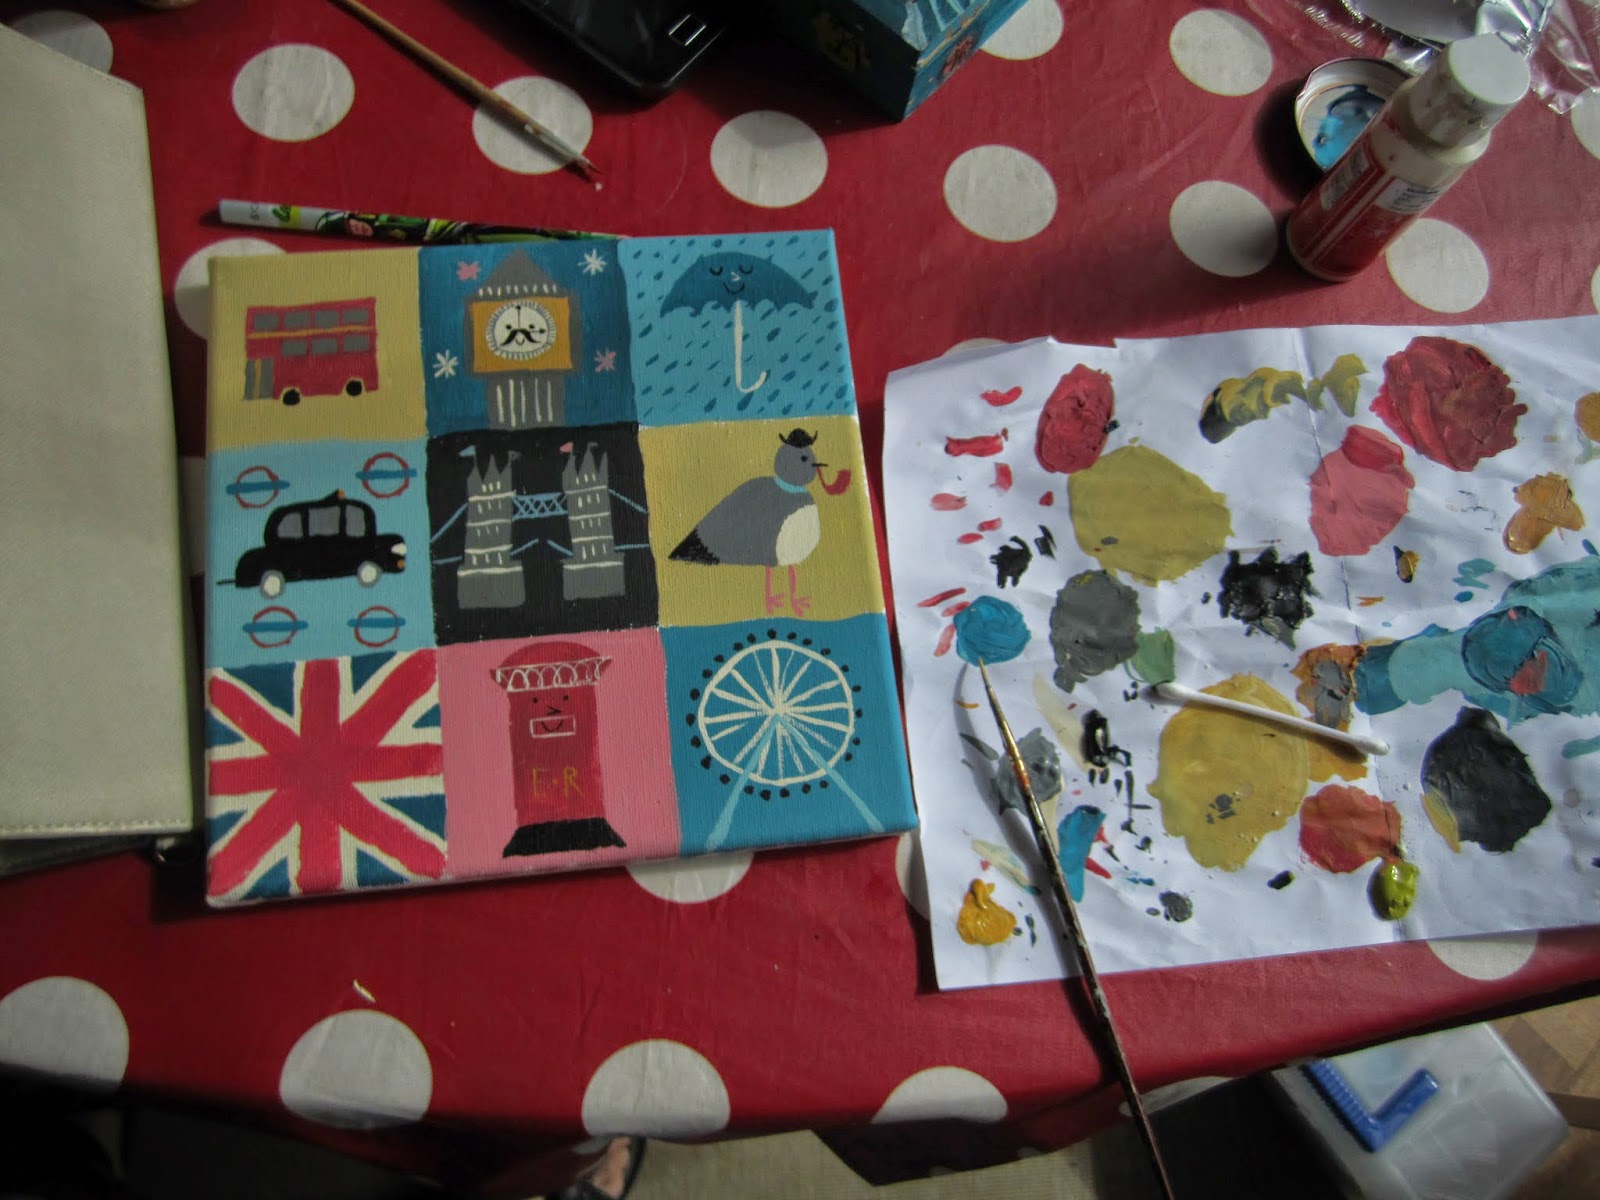
I first painted the white bit with acrylic paint.
I then used bronze acrylic paint for the card frame.

Once dried, I also painted faux screws onto the frame, and painted words on the labels.

I used a matt finish to protect the paint.


Tuesday, July 8, 2014

Ikea Hack: Malma Mirror for young Pirates


 I upcycled this Ikea Malma mirror for my younger son. He had been sick with the chicken pox for a few days, and we used the time we had today to work on a project together.


Because this is a more elaborate design I made a blueprint. I traced the frame:
 And I traced around the mirror bit as well, so I knew exactly how much space I had to work with,

 While I made the sketch of what I wanted S used some sand paper to sand the surface of the frame. This was both to give him a job and to help the paint stick better.


 I used acrylic paints and a matt acrylic finish.

There is even a tiny pirate peeking out of a cabin hole.

Friday, June 27, 2014

Elderflower Lemonade

A couple of weeks ago we went to Downe, and after visiting Darwin's house (Downe House)


we went rambling in the nearby fields


 and picked elderflower blossoms. (There are plenty of elderflower bushes in our area, but picking blossoms from bushes that are close to roads is not a good idea as traffic fumes pollute the air and the plants) 
 Our pickings:


I made cordial and elderflower infused lemonade from the blossoms. This is the recipe for the lemonade.

I used about 10 blossoms and 3 litres of water.

1. Make lemonade the way you like it. I prefer to use honey or brown sugar
2. 3. Wash and slice a lemon and add it to the lemonade too. (optional)

3. Wash and clean blossoms (i.e. make sure that there are no creepy-crawlies or dried bits). Add it to the lemonade.

4. cover and leave in the fridge overnight.

The zest from the sliced lemons gives the drink a tangy taste. I discarded them after the first night, because I felt it might be a bit too tangy for the kids.


You need to strain the lemonade before serving. 

It is such a refreshing drink on a hot day!


Saturday, June 14, 2014

Ikea Aron chair revamp


We got this chair from our friends when we moved, and I have been meaning to do something with the seat (other than covering it with a tea towel) for nearly a year now... 
It was a question of finding the confidence and the right fabric, mostly the latter :)


Last week I found a whole bunch of floral print pieces, scraps and shop samples in a charity shop. I bought a couple of pieces, this sample among them:

 (it is about 60 x 60 cms) 


The great thing about this chair is that the seat can be unscrewed and that when you reassemble it, the screws fix the seat firmly on the frame so that the upholstery fabric is held in place.

My son and I dissembled the seat quite quickly and easily. He loves using the screwdriver, and also loves to "really help". 


The truck held the screws while we worked :)


 Luckily the edges of the fabric were cut with pinking shears so as to prevent fraying. I fit the fabric onto the seat while making sure the screw holes were not covered.
I used tape to secure the fabric in the back, making sure the fabric on the seat was nice and even. Ideally one should use a staple gun or even a glue gun. I'll see how well this holds and glue gun it if necessary.

S got to help fasten the screws.

Ta da! The colours of the print also go well with our desk (which I have painted teal but is still under constuction)

The revamp took about 20 minutes and 50 pence. I am really proud :)

Tuesday, June 3, 2014

Scouting project: learning about leaves

One of my sons is a cub scout, and one week their homework was to collect leaves and try to figure out what they were. So we collected leaves from the garden and on our way home from school.

We had to look up most of the names and I was concerned that he would forget so much new info. To avoid this, we used clear adhesive film to laminate the leaves and we added little notes with the names of the plants. This way he also practised his spelling and learned the names better than if I just told him which each one was.

I bought a roll of the adhesive film at the stationary department of Wilkinsons

We placed the leaves in between two pieces of film .

 and cut around them.

Abel's cub leader was very pleased and he was still able to to do the leaf rubbing activity. The idea came from a bookmark my grandfather bought me from Israel with pressed flowers on it. 

Monday, May 19, 2014

Little Boxes of dogs and cats

I made these pictures based on (basically copies of) Rob Hudgson's wonderful designs. My elder son had tonsillitis, so we had a lot of time to do arts and crafts after the antibiotics kicked in!

I had planned to paint these since before Easter and I was so glad to finally get round to it. I used 20 cm x 20 cm canvases and acrylic paints.

Little boxes of London painting

Our guest bedroom had bare walls, and I wanted to paint something that is related to London, as our house guests spend lots of time sight seeing there.

  I discovered Rob Hudgson's work on pinterest which I thought was really cool and relatively easy for me to paint. Later I discovered he did some pictures based on cities, London being one of them. So I got to work.
I enjoyed painting this, and my boys liked to watch these familiar things appear on the canvas with smiling faces! More to come...