Thursday, September 20, 2012

Chopping board turned key holder


I saw some keyholders on Pinterest made from blocks of wood and nails/hooks, and thought I could paint a picture on a wooden surface and add some hooks. However the only solid wood object that I found at my local arts n crafts store was a chopping board. At least we do not need to drill a hole in the wood, right?


So after some paint and scrapbook paper, this what I came up with :

<a href="http://pinterest.com/ffeltist/"><img src="http://passets-cdn.pinterest.com/images/about/buttons/big-p-button.png" width="60" height="60" alt="Follow Me on Pinterest" /></a>


Redecorating / upcycling old desk for kids


Our up-cycled desk


My aunt offered us this old-school desk that my 20+ cousins had inherited from someone else back in the day. Having had seen what was on offer at IKEA I was all for it. So here are some before pictures. The desk is made from varnished plywood and I would guess it is about 30 years old
The door had an aluminum lock cover and some

the desk once had drawers
We fit two pieces of wood onto the drawer slides and made shelves


There was some damage on the surface of the desk door.
I fixed the chipping with a material called Fakitt which is sort of like plaster for wood. I had to apply several layers with a brush and used sandpaper in to even it out after the material dried.


My husband helped take the desk apart and genty sanded the surfaces of the desk (all except for the top)

I painted the surfaces with a special base paint (Primer Aggrappante from www.stamperia.com) to make sure that the acrylic paint sticks to the surface of the plywood. 


We changed the lock cover and bought a key so my son can lock his little brother out of his stuff

Taaadaaaa!
The desk in Á's study corner.


Thursday, August 9, 2012

Felt bowties aka Wife-beaters with felt bowties


After a number of complaints by readers (ok the number is one and the reader (sans s) was my sister) that I have not posted in a while, I made some fancy tops for my sons to wear to my dad's name day party. I saw a onesie with bowtie on it on the web, but it is too hot for onesies at the moment and my elder son does not wear them any more.

They were surprisingly easy to make!
I cut out a rectangle shape of felt in the size  I wanted and clipped the corners for a less severe look.
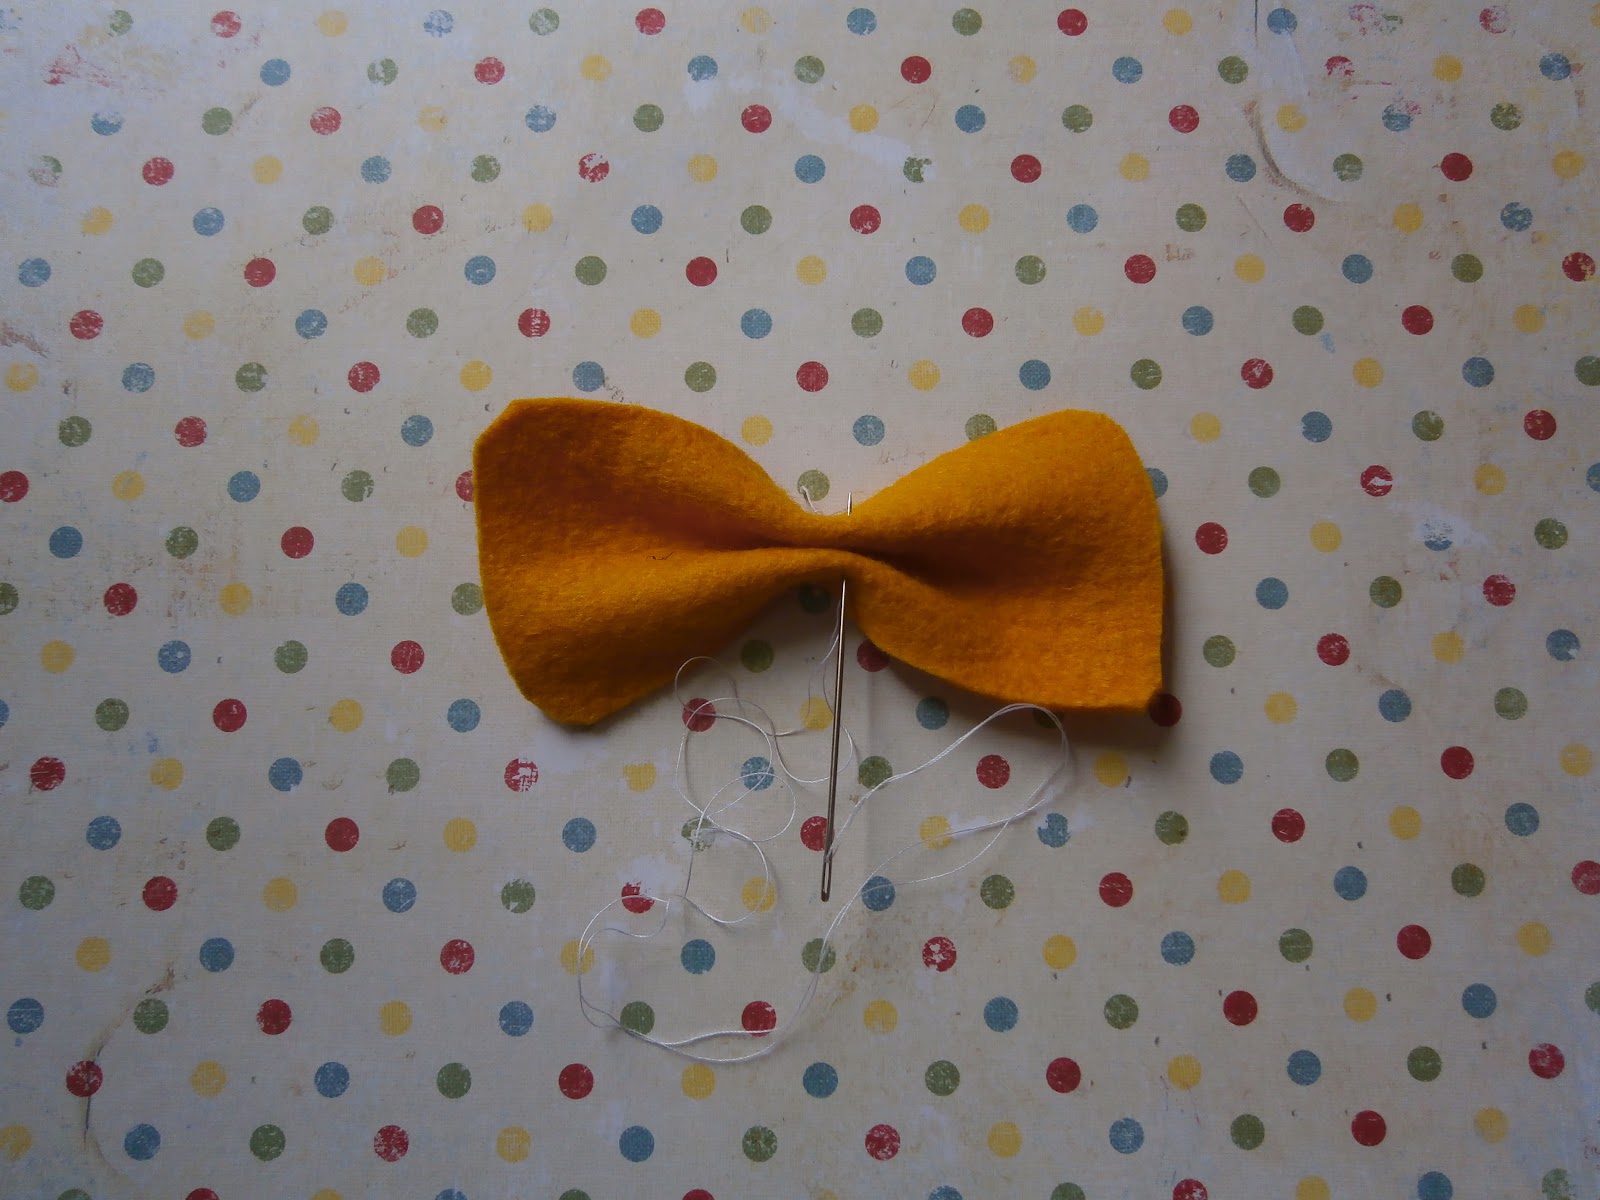
I pinched the rectangle in the middle and secured it with a couple of stitches 
I cut a narrow bit of felt and wrapped it around the middle of the bow and sewed it onto the bow. I could have used a glue gun for this and the previous sewing as well.
felt bowtie makes all the difference! :)


Wednesday, July 18, 2012

Gruffalo DIY: Wooden spoon Gruffalo puppets

Gruffalo wooden spoon puppets
One of our favorite books is Julia Donaldson's Gruffalo. Apart from the humor and the cool rhymes and rhthymn of the text , I find the illustrations of Axel Scheffler particularly  attractive. It is also a great story to act out with funny voices.
So last week I bought some wooden cooking utensils (a pack containing a spatula, a spoon and two less useful items a fork and a spoon with two holes in it) and decided to make some puppets out of them based on the Gruffalo characters.
The spoon and spatula were easy to work with, and I used wood putty to fill in the holes of the other items.

I added bits of detail to the handle of the utensils
I used acrylic paint and a matt finish on the spoons. I used thin cardboard (formerly a box for chocolates) for the ears and horns of the Gruffalo and put paint and finish on them to make them harder.

These will come in handy when we start reading The Gruffalo to the little one, and they will give my older son an opportunity to participate in the event! :)

Wednesday, July 11, 2012

More hair clips

I made these hair clips as a birthday present for our neighbors' granddaughter.

Felt matrioshka hair clip: I used two layers of felt for the body,embroidered the face, sewed the fair on the face and then sewed the face onto body with transparent thread. The flower was made of a glass and a flitter bead.

Organza hair clip: I cut flower shapes from organza and melted the edges over a candle and decorated the middle with beads of the same color.

Felt heart with ribbon hair clip: I melted the ends of the ribbon to prevent fringing

Felt watemelon hair clip: I stitched the two layers of watermelon together with the seeds. This was especially fun to make given it is watermelon season!!!

Wednesday, June 6, 2012

Napkin holder


I have been meaning to buy a napkin holder for years. I could not find one that was right so I kept putting it off. This one was originally meant for my cousin to match the bird mirror frame (: http://thefeverishfeltist.blogspot.hu/2012/05/put-bird-on-it-be-birded-mirror-and.html). So I painted it brown, but I accidentally got sunblock and possibly nappy cream smudges on both sides of the napkin holder and there was no way I could cover it with more coats of paint. I had to cover the oily stains with paper. So I decided to make stocky animals wearing scrapbook paper...
I bought this base at the crafts shop

I drew and cut out the animal shapes which I traced onto the wooden base and also traced onto the scrapbook paper.


I used acrylic paint and a matt finish. I have a red and white polka-dotted table cloth and I added the dotted dishes on both sides so at least the napkin holder matches something :)

More letters!

I made some more letters for my friends'  kids. I kept the baking paper cutouts from the first batch and it was much easier to make these! See previous project here: http://thefeverishfeltist.blogspot.hu/search/label/alphabet

I gave the bear a ribbon for a more girly effect!