Showing posts with label crafts with kids. Show all posts

Thursday, November 29, 2012

Felt coaster for kids


I was making felt coasters as gifts when Á asked me to make him one with his doggy's face on it.
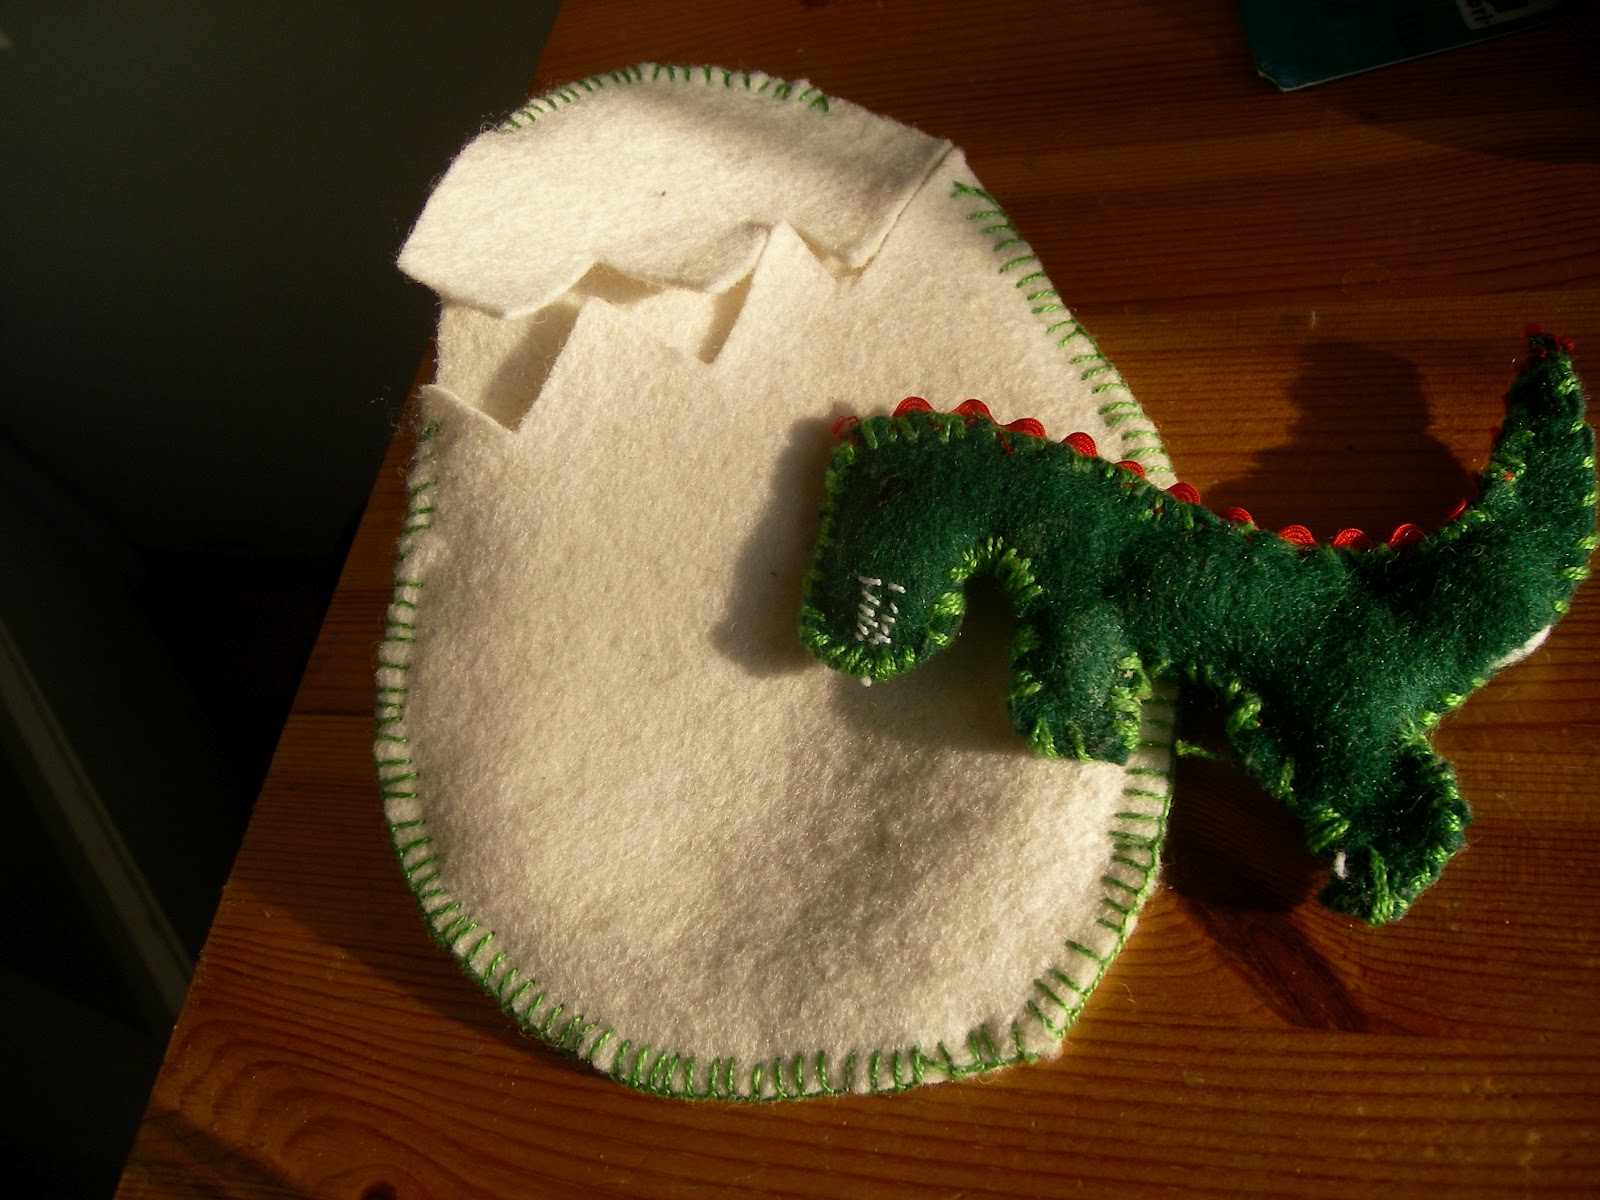
He was not happy with the first one I made because the ears and face of the dog were of the same color, so we made another one which he"colored" with embroidery yarn. It turned out really cute:
I used a CD as a template for the felt part and the coaster and the top brim of a tea mug for the fabric (a leftover scrap of IKEA Gunilla fabric).


Finger printed giftcards

We made there cute gift cards for A's teachers last night.
I cut 7x11 cm rectangles to make the cards, and A dipped his ring finger and thumb in acrylic paint (we practiced with an ink pad to work out which works best) to make the snowmen. Afterwards, he drew faces, arms, feet ect on the snowmen with a black marker, and I painted on the orange noses. The one in the middle is everyone's favorite!
We look the idea from Fiona Watts' wonderful 356 things to make and do book which we both love so much!

DIY gifts for teachers/hand-made soap with kids

Our class is buying my son's teachers a larger gift, but I wanted to make something special to give them too. My choice fell on handmade soaps. We used the melt and pour method with glicerine soap. I just bought some glycerine soap at the drugstore and we cut it up and melted it (over stream), and we poured it into Ikea Plastis ice trays (they say that the trays are for water only--- but I'm a badass crafter:) ).
It was super easy and lots of fun.

 You can buy glycerine blocks to make soap out of at craft shops but glycerine soap is actually cheaper than the craft kind.  I tried melting cheaper/harder glycerine soap, but it did not melt.

You can also add stuff like poppy seeds, cinnimon, dried lavender to make soap more interesting. I could not figure out what would smell good with olive.


Melting the cut up soap cubes

The cubes start to melt

We filled the trays and let the soap harden in the fridge.


Wednesday, March 14, 2012

EDIBLE EYEBALLS

EDIBLE EYEBALLS

Super-sweet and Super-gross these babies could be perfect Monster-party / Halloween/ David Bowie fan club meeting treats!

My son got a Horrible Science book from her godparents


In it there was a recipe that really captured his imagination: edible eyeballs. It seemed a bit complicated at first but once we started making it wasn't that bad.

Recipe: 
25g Rice Crispies
75g chocolate
8tbsp powdered sugar (mix it w water to make icing)
M&Ms
clingfilm

Step 1: I melted the chocolate over a bath of boiling water (I actually used the leftover choc from the candied oranges).
Step2: We mixed Rice Crispies into the chocolate
Step 3: We spooned out the goo onto bits of clingfilm and wrapped them like so (see above). The amount spooned out should be more or less that of an eyeball :)
Step 4: We placed the wrapped balls on a tray/plate and put them in the freezer or fridge to set.
Step 5: When they have hardened we unwrapped them and place them on baking paper
Step 6: We put icing  on eyeballs, stuck an M&Ms onto each and put a small dollop of brown store bought icing for the pupils (should have been black) 

Here is Daddy indulging in a freshly hardened eyeball with Simon looking on. :))P.s. Thank you F and É for all your help!


Monday, March 5, 2012

PAPER-AIRPLANE MOBILE

One of my sons latest and most enduring obsessions is folding paper airplanes. He loves folding and throwing them about. So for his birthday his grandma bought him an adorable Origami Airplane kit by Djeco (www.djeco.com)
I liked the design of the planes so much, I wanted to use them for decor, so I came up with the idea of making a mobile for the kids' room.  So I took some thin ribbon, tape and two wooden sticks and got to work. It is all pretty straight forward, the only tricky bit was finding the spot to attack the ribbon to so the planes would be in balance. 

I had a lot of fun photographing the mobile :) Enjoy!


DINOSAUR SOFTY in Dinosaur Egg

On the way home from buying my first bigger batch of felt material, I asked my son what he would like to make from it. His answer: "A Dinosaur!....a dinosaur who can climb out of an egg!" And this is what we came up with:


I made the egg, but the dinosaur was a joint project: I cut out the shape he wanted (T-rex) from felt. He did the stitching along the side of the dino and I added the teeth, eyes and sewed on the wave ribbon. This sort of stitching is quite easy for kids to manage, and he was so proud of his work! As was I!
 The wave could also have been sewn in between the two layers of felt, but that would have been very difficult for my little man.

Sunday, March 4, 2012

HOMEMADE WRAPPING PAPER


I've been a big fan of simple recycled wrapping paper since my teens as it is eco-friendly, cheap and serves as a canvas to really personalize gifts. Also, it is versatile as you can use the same paper to wrap presents for every occasion (Christmas, Birthdays, Mother's day etc.)
 As a mom, decorating birthday wrapping paper has the added benefit of being a fun to do with kids! Moreover children like to feel that they were involved in making the gift.

This time we made robot wrapping paper:
I first cut off a piece from the roll that was the right size for the gift. Then we used  our DJECO Robot stamp kit to decorate the paper (http://www.kaboodle.com/reviews/djeco-robots-stamps). The box includes three metallic ink pads and several robot parts stamps. At first, I was concerned that the metallic ink would not dry so we used another ink pad for the second round of robot heads. (In the end the metallic paint dried too.)


Here is the end result, I really like the retro feel of the robots. The paper got a bit crumbled after my two kids handling it,...but that just makes it more precious, right? :)

We had to wrap the gift really quick... we could added some sort of ribbon... or electrical wire... maybe next time!


NOTE: You can also use stamps made from potatoes or cut out of sponge and tempera/acrylic paint.
Also, you can buy Djeco stamp kits at the toy store in Budagyöngye. 


Friday, February 24, 2012

POMPOM MAKING with sick child
This was a good project to do with my son when he was semi-bedridden. It is not messy, it's easy to put away or do in bed but still with a fun outcome!


 My son is recuperating from the flu and asked to make pom poms for some reason. We watched a tutorial (as I have forgotten how to make them): http://www.youtube.com/watch?v=BsGI6R-Opag and got down to business...
I made a small ball of yarn for easier use ( it does not matter if you run out, then all you need to do is tie the end of the yarn to a new piece with a simple knot) and tied the end of it to the cardboard rings.

My son wrapped the yarn around the ring. He did take some breaks but managed to wrap the whole ring it the end.


All done with the wrapping!

I cut the yarn by sliding the scissors between the who pieces of card.

My son tied the pompom with as seperate piece of string using several knots.

 We removed the cardboard, but off any longer pieces and
Voila! Our very own pompom!